Skin retouching
Why Frequency Separation Makes Skin Look Plastic — and How Olune Skin Fixes It
Your pores can survive frequency separation while the portrait still looks fake. Learn the four causes and the Olune Skin workflow that avoids them.
The pores survived. The skin did not.
That is the strange failure frequency separation can create: every tiny detail is still visible, yet the face looks as if someone stretched a texture over a plastic mannequin.
The split may be technically perfect. The retouch is not.
Skin looks real when texture, color, light, and shape agree. Keep the pores but flatten the color underneath, and the texture starts to float. Clean every line, equalize every patch, smooth every transition, and the person disappears one careful brush stroke at a time.
This is the problem Olune Skin was built to prevent. It automates the mechanical setup of frequency separation, then separates Smoothing, Healing, and Texture so you do not have to push one destructive correction across the whole face.
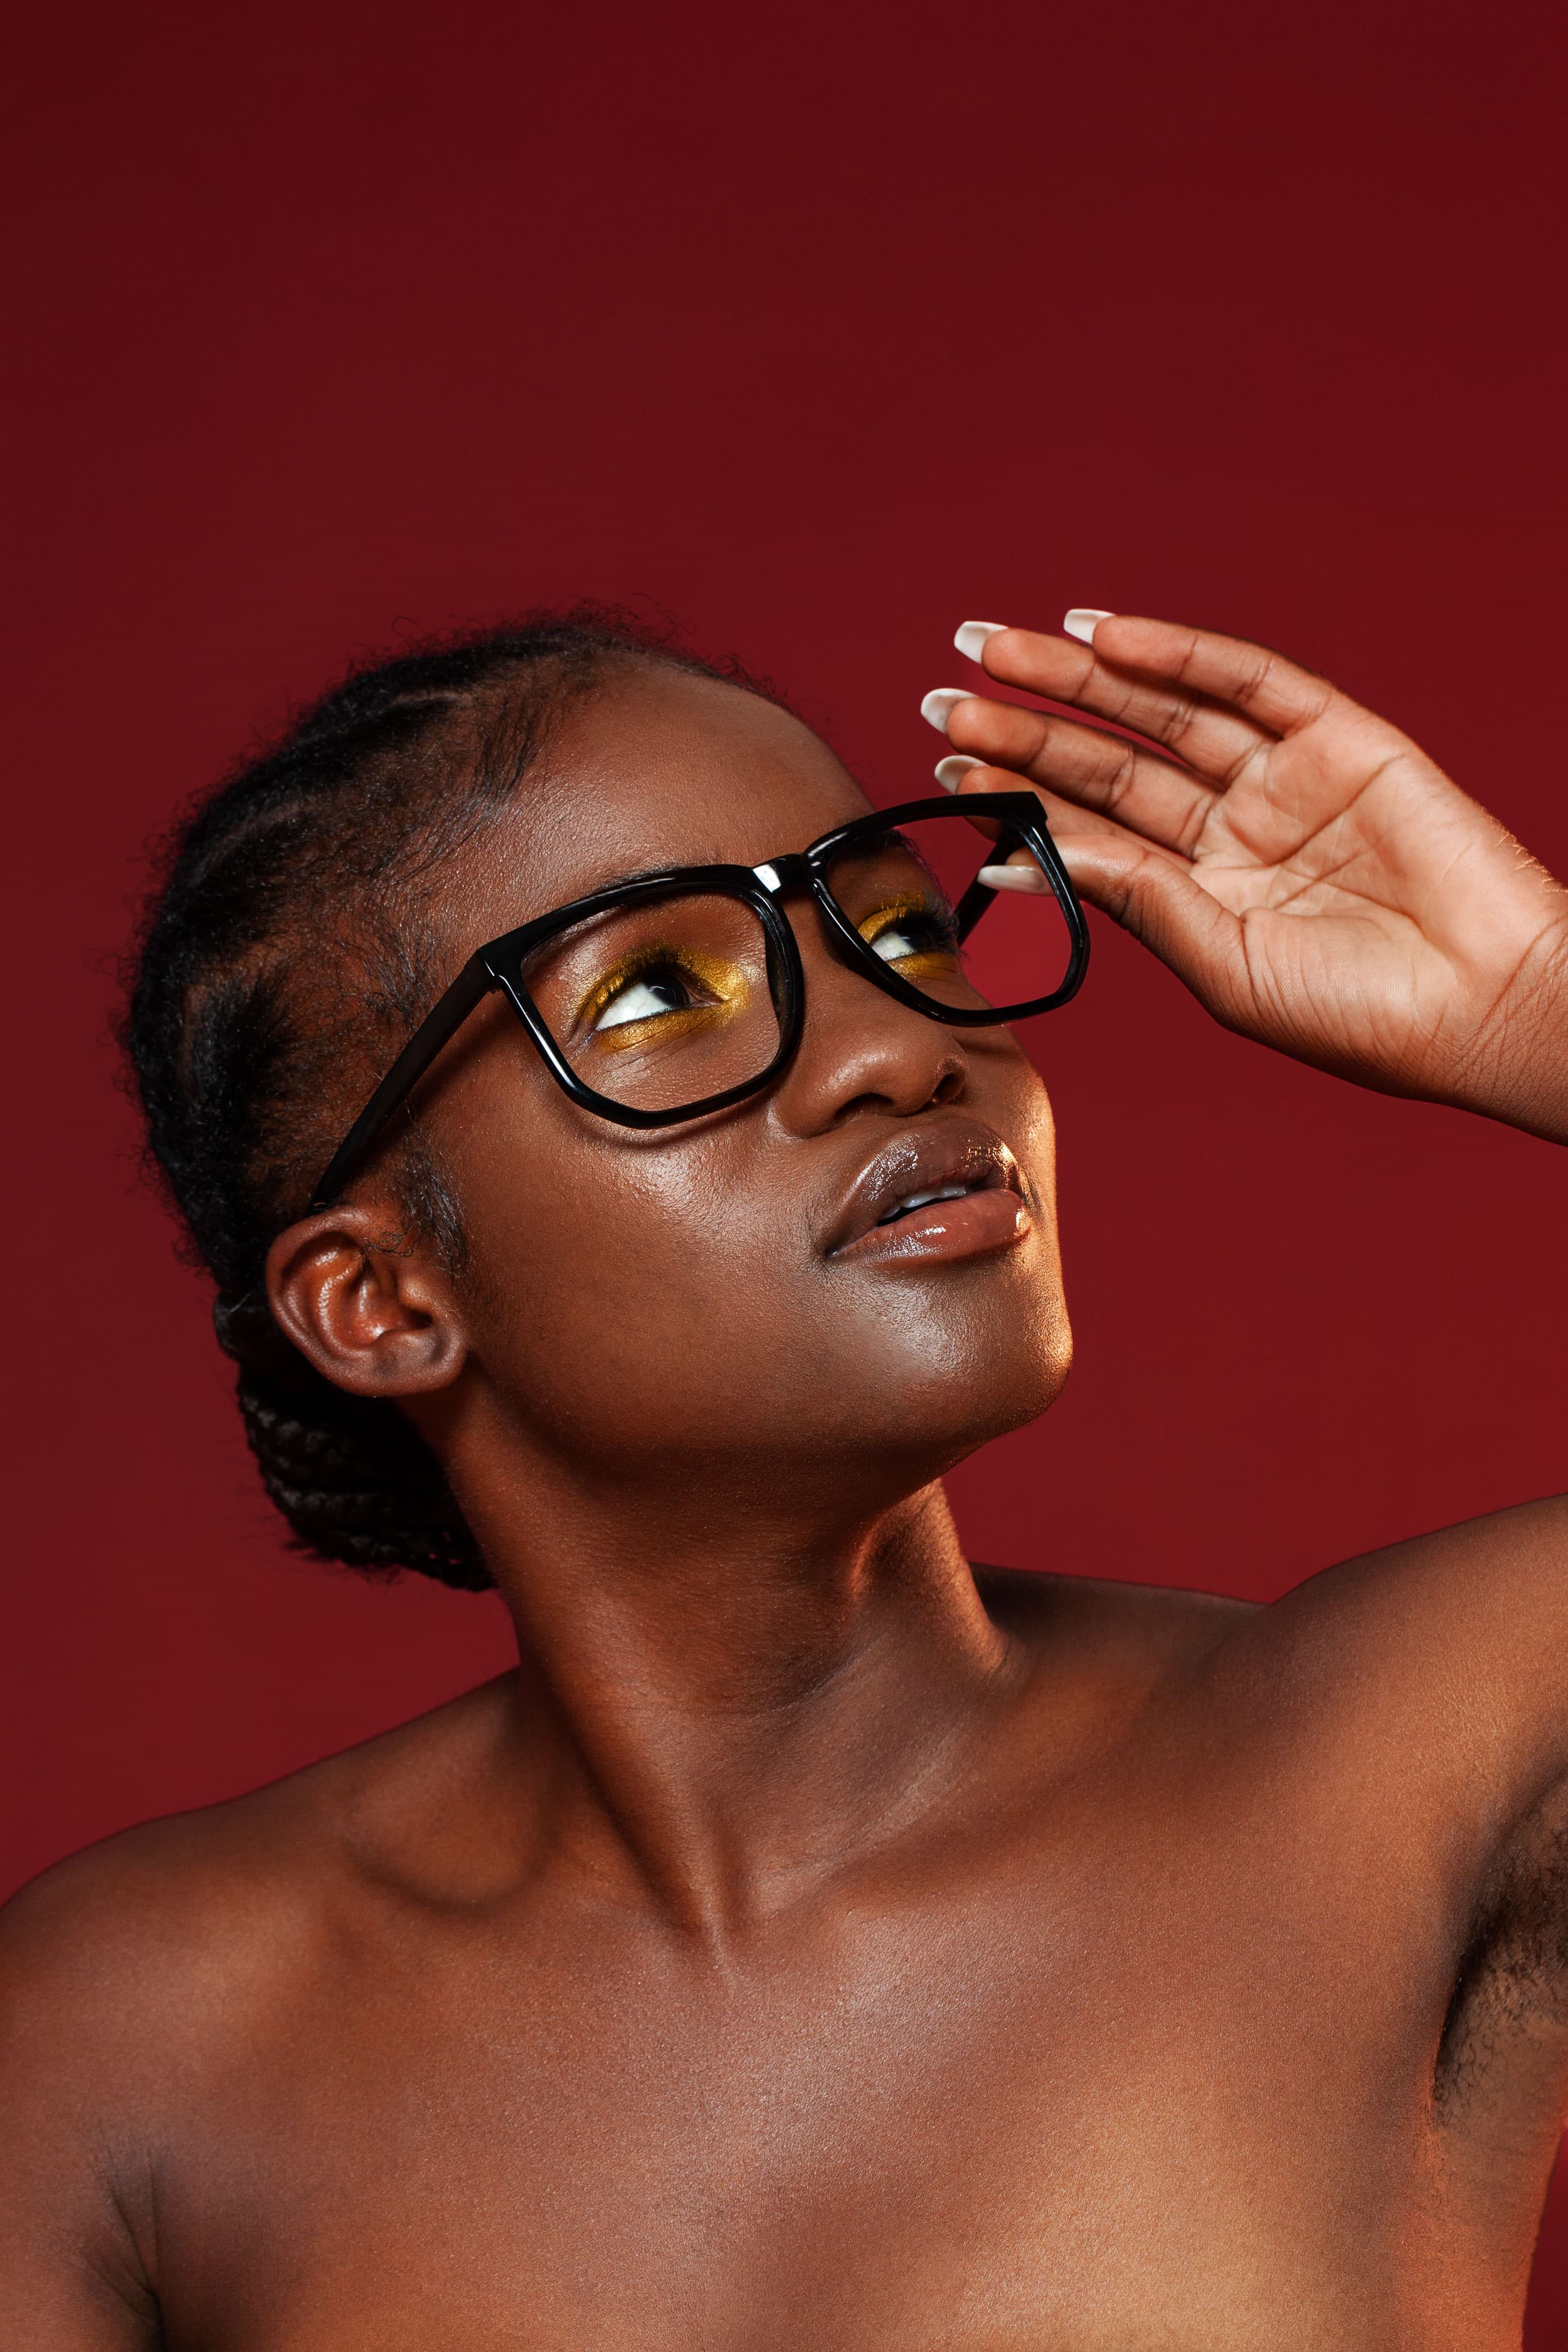
But the controls only work if you know what to protect. Start with this comparison.
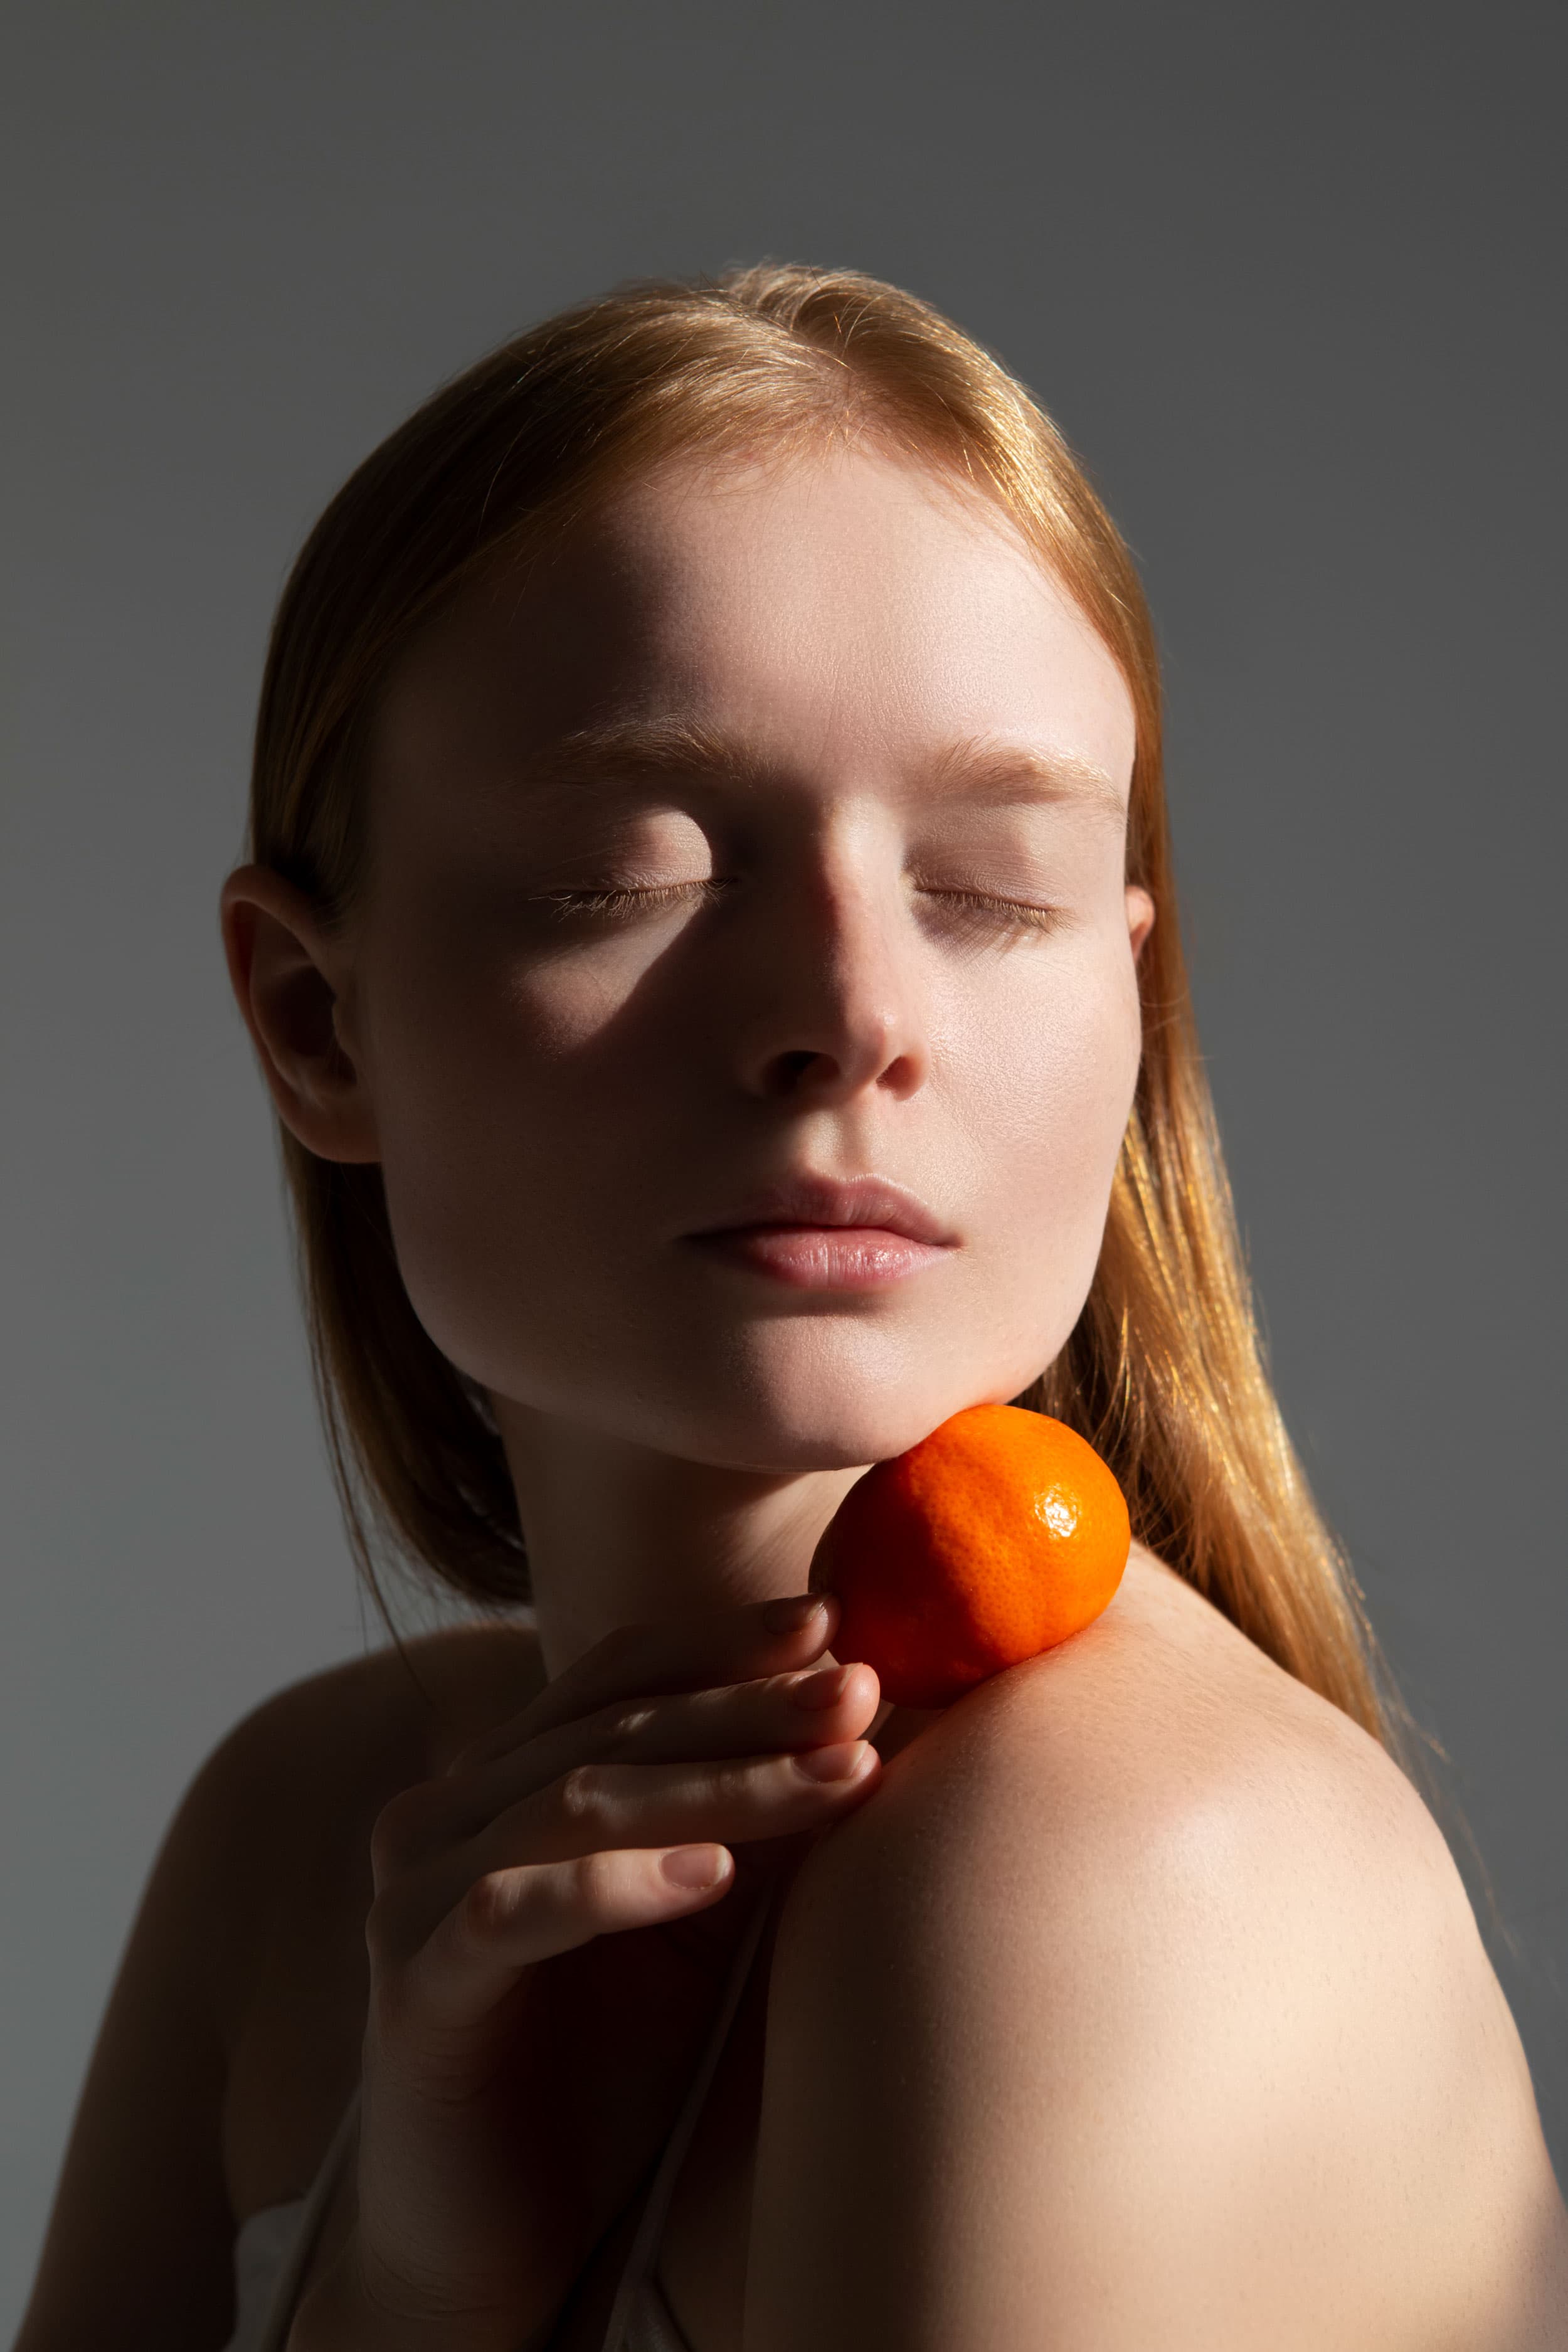
The second image is cleaner. It is not a different face. That distinction is the entire game.
The 30-second plastic-skin test
Open your current retouch and answer four questions:
- Does the cheek still have shape when you zoom out?
- Does the nose have different texture from the jaw?
- Are permanent details — freckles, lines, scars — still recognizable?
- Does reducing the retouch group to 75% make the portrait look better?
If the last answer is yes, the problem is rarely “not enough texture.” The correction is simply too broad.
Here is where that usually happens.
1. The color layer became a skin-colored cloud
The low-frequency layer contains broad color and luminosity. It also carries much of the face’s volume: the turn under the cheekbone, the shadow beside the nose, the transition beneath the eye.
Long Mixer Brush strokes can blend those planes together. The color becomes even, but the face becomes flat. Pores remain on high frequency, sitting over a simplified shape.
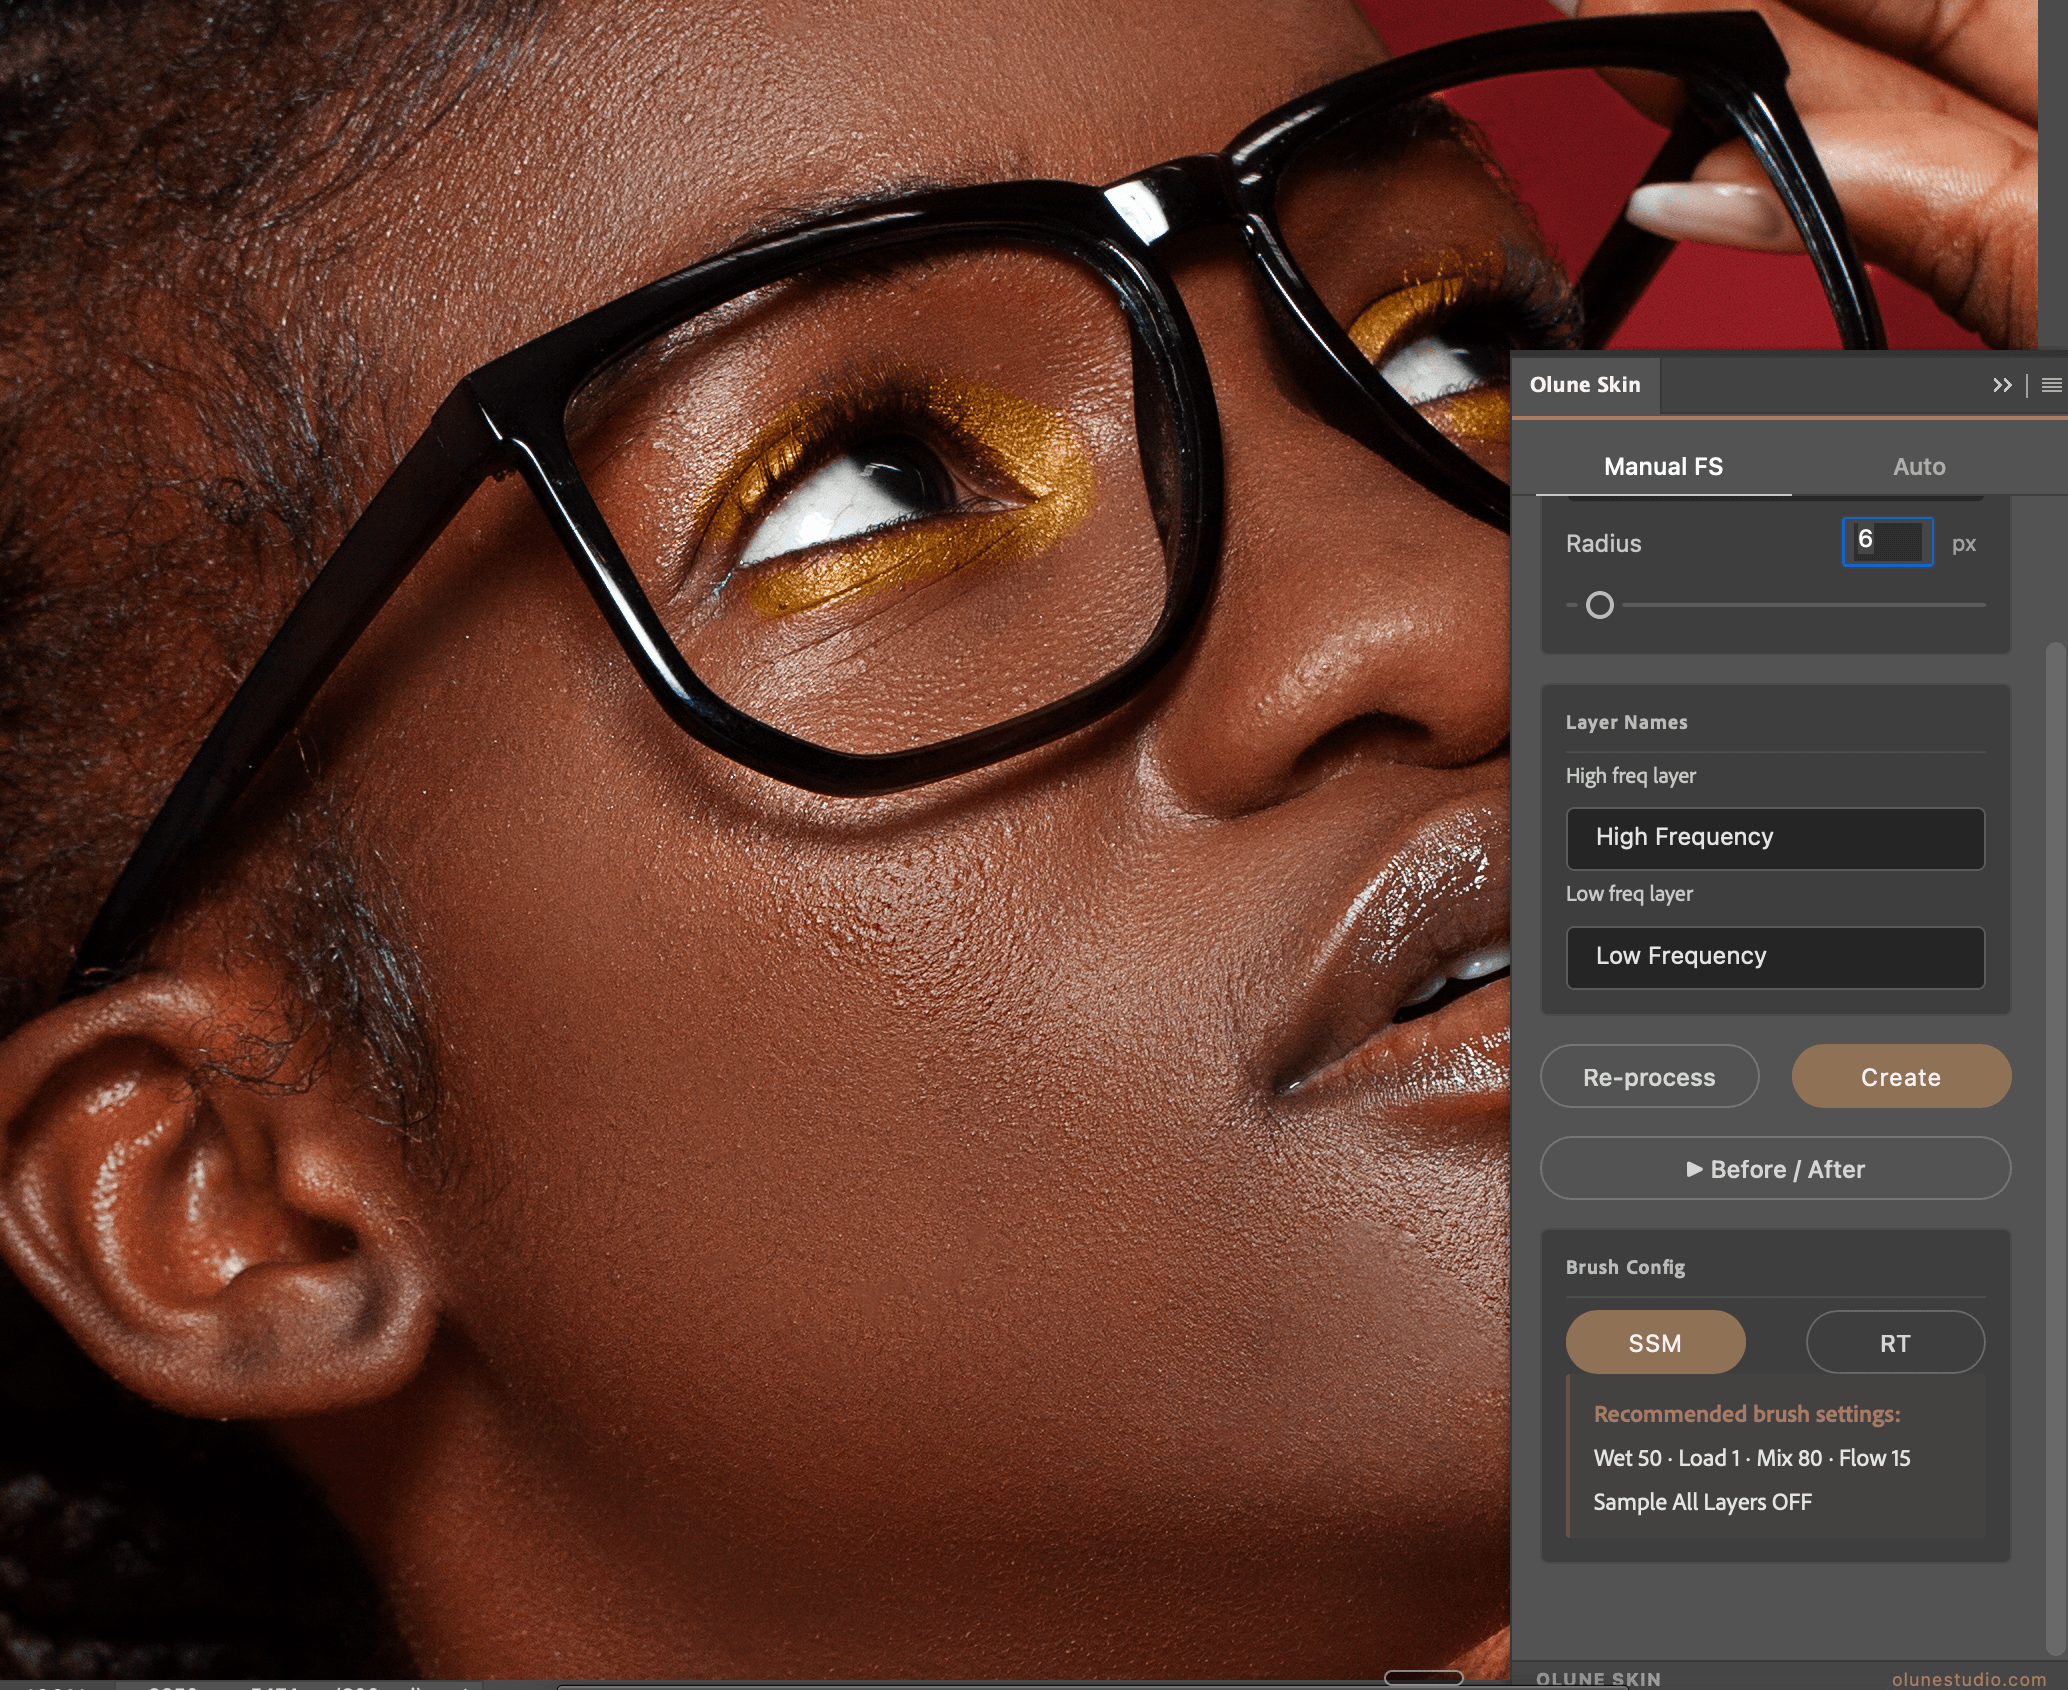
With Olune Skin’s Manual FS mode, use the preconfigured SSM brush in short strokes. Follow the cheek instead of cutting across it. Stop at the nose, jaw, highlight edge, and under-eye transition. The goal is to calm a distracting patch, not average the whole face.
Quick check: switch the FS group off. If the face looks more dimensional before, undo the broad strokes and work in smaller zones.
2. The radius came from a tutorial, not the photograph
There is no professional “magic radius.”
A tight 45-megapixel beauty crop and a half-body portrait do not separate at the same number. Resolution, crop, focus, and pore size all move the boundary between texture and tone.
Olune Skin gives you a 1–100 px radius and a Re-process control so you can test the boundary without rebuilding the stack. Increase the radius until fine pores disappear from the low-frequency preview, but stop before facial edges and important forms dissolve.
- Too small: texture leaks into low frequency and smears during blending.
- Too large: medium-scale form moves into high frequency and gets damaged during healing.
Watch the face. Ignore the number until the separation looks useful.
Try it on a difficult file
Download Olune Skin and use every feature free for 14 days. No card required. Build the stack, change the radius, hit Re-process, and compare the boundary instead of trusting a preset.
3. Smoothing touched everything equally
Real skin changes across the face. The forehead, nose, eyelids, cheek, and jaw do not share one texture. A uniform pass removes those local differences and creates the unmistakable “plugin look.”
Olune Skin uses Photoshop’s native face-mesh engine to prepare a skin selection, but the correction is still yours. Inspect the mask. Keep full-strength smoothing away from eyelashes, brows, lips, nostrils, facial hair, and strong shadow edges.
Then use the independent layer masks:
- Smoothing for the uneven areas that genuinely need it.
- Healing for temporary distractions.
- Texture to restore surface detail where the correction became too clean.
One face. Three decisions. Not one global blur.
4. Every line was treated as damage
The crease below the eyelid, the fold beside the nostril, the edge of the lower lip, freckles, and small scars all carry identity or structure.
Before removing a mark, ask: Would it still be here next month?
If not, it is probably temporary. If yes, reduce it before deciding to erase it. This single question prevents more unnatural retouching than any technical setting.
Olune Skin’s Reveal Texture brush is useful when a correction crosses that line. Paint back only what the face needs. Restoring texture is not undoing your work; it is finishing it.
The Olune Skin workflow for believable frequency separation
Use this order on the next portrait:
1. Finish the raw conversion
Set exposure, white balance, and the broad color direction first. Do not make frequency separation repair an unfinished raw file.
2. Choose Manual or Auto
Use Manual FS when you want to control the filter, radius, layer names, and brush behavior. Use Auto when the file needs a fast, clean starting point with skin detection and the working brush ready.
3. Correct one scale at a time
Heal damaged texture on high frequency. Blend color within one facial plane on low frequency. Use dodge and burn when the real problem is shape or luminosity.
4. Compare while you work
Use the inline Before/After control at 100%, 50%, and fit-to-screen. At 100% you inspect pores. Zoomed out, you judge the person.
5. Pull it back
Reduce the correction until you miss it, then bring it up slightly. Skin retouching becomes expensive-looking at the point just before the technique announces itself.
What Olune automates — and what it never should
Olune Skin can build the layers, apply Gaussian, Surface, Median, or 2× Median separation, load the brush settings, prepare the skin selection, and keep the corrections organized.
It cannot decide whether a freckle stays. It cannot decide how much under-eye structure belongs to the person. It should not decide what “perfect skin” means.
That is a feature, not a limitation.
Automation should remove clicks. Taste stays with the retoucher.
Put it against your hardest portrait
Do not judge a skin plugin on a flawless studio file. Use the portrait with mixed light, uneven foundation, freckles, facial hair, or two different skin tones in the same frame.
Try Olune Skin free for 14 days. No card, no reduced feature set. If it helps you get to believable skin faster, keep it. If the face starts looking like everyone else’s, pull the controls back.
The best result is not the smoothest one.
It is the one where nobody thinks about skin retouching at all.